3D Metal Printing Solutions
End-to-End 3D Printing Solutions - Print, Wash & Sintering
SEND US YOUR DESIGN FOR A QUOTE ON 3D PRINTING >
RetroCast 3D Printing provides 3D Metal Printing services to our manufacturing partners across Australia. We are dedicated to providing quality services and products. We facilitate each stage of your 3D Printing project in-house. These services include: 3D Scanning, 3D Modelling, 3D Metal Printing and Chemical Wash & Sintering onsite.


Learn more about 3D metal printing phases
3D Metal Printing materials that are currently available 17-4PH Stainless Steel, Copper, Inconel 625, A2 Tool Steel, D2 Tool Steel, H13 Tool Steel. Build Volume 300L x 220W x 180H.
Combining our 50+ years in metallurgy and engineering with Markforged Metal X System, RetroCast 3D Printing brings both knowledge, technology, to one space for you.
With Turnkey simplicity, we can integrate quickly and seamlessly into your manufacturing process, providing production-quality parts as
and when needed. Our products use materials curated for durability and strength, so you see a return on your investment in weeks, not
years.
"Additive manufacturing is unique in its ability to provide flexibility and innovation.”
Terry Hammer, VP of Engineering, Dana Inc.
It is our intention to help you increase your bottom line with consistently improving machines and streamlining operations.
Unlock the challenges in your business manufacturing, transform your supply chain and unleash workforce creativity with RetroCast 3D Printing providing your End to End manufacturing solution.
 3D
Metal Printing - Sample Parts
3D
Metal Printing - Sample Parts
Get a project quote
We are proud to be ISO 9001 Certified for Quality Assurance. We consistently review our systems, processes and products to ensure continuity and progress to ensure customer satisfaction and maintaining industry standards for quality.
SEND US YOUR DESIGN FOR A QUOTE ON 3D PRINTING >


SEND US YOUR DESIGN FOR A QUOTE ON 3D PRINTING >
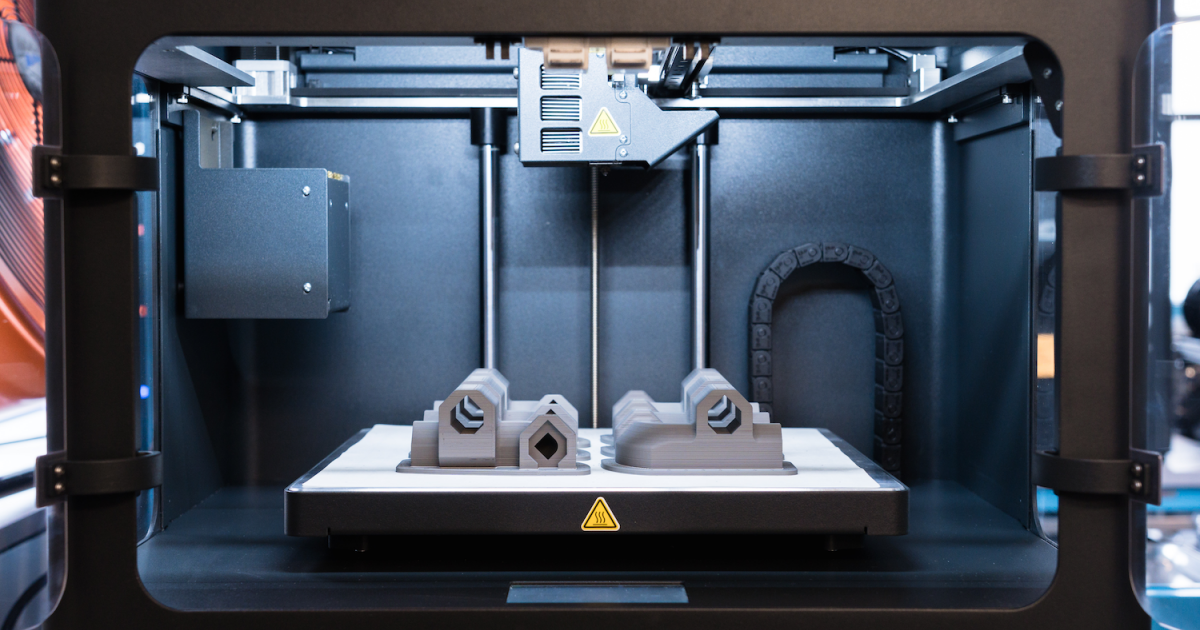
The material that is currently available with our Metal X printer is powdered metal, which is bounded together by a wax polymer that is then formed into a tube and wound around a spool. During the actual printing stage, we feed the material from the spool into an extruder nozzle that will print your part one layer at a time.
For certain geometry types we use physical supports as you cannot print in mid-air. To ensure they are not fused to the final part, a layer of powdered ceramic is printed in between the part and the support, creating a barrier for ease of separation.
Your part is what is referred to as a 'Green Part'. We print your part from 20 – 35% larger than their final dimension to accommodate both expansion and shrinkage. This scale up is determined by our software so there is no need to make another model for printing with different dimensions.
Once we have completed the 3D Printing process of your part, we need to remove as much of the wax polymer as possible.
Your part goes into a chemical bath with the length of time determined by our software and how much material is in the part. After the washing process, the part is then dried.
Weighing your part before and after the ‘Wash’ stage helps determine if enough wax has been removed before it goes into the third step.
Your part is now referred to as a ‘Brown Part’.
To determine if enough wax has been removed, we apply a simple formula to ensure your part falls within the fraction allowed in the sinter per part.
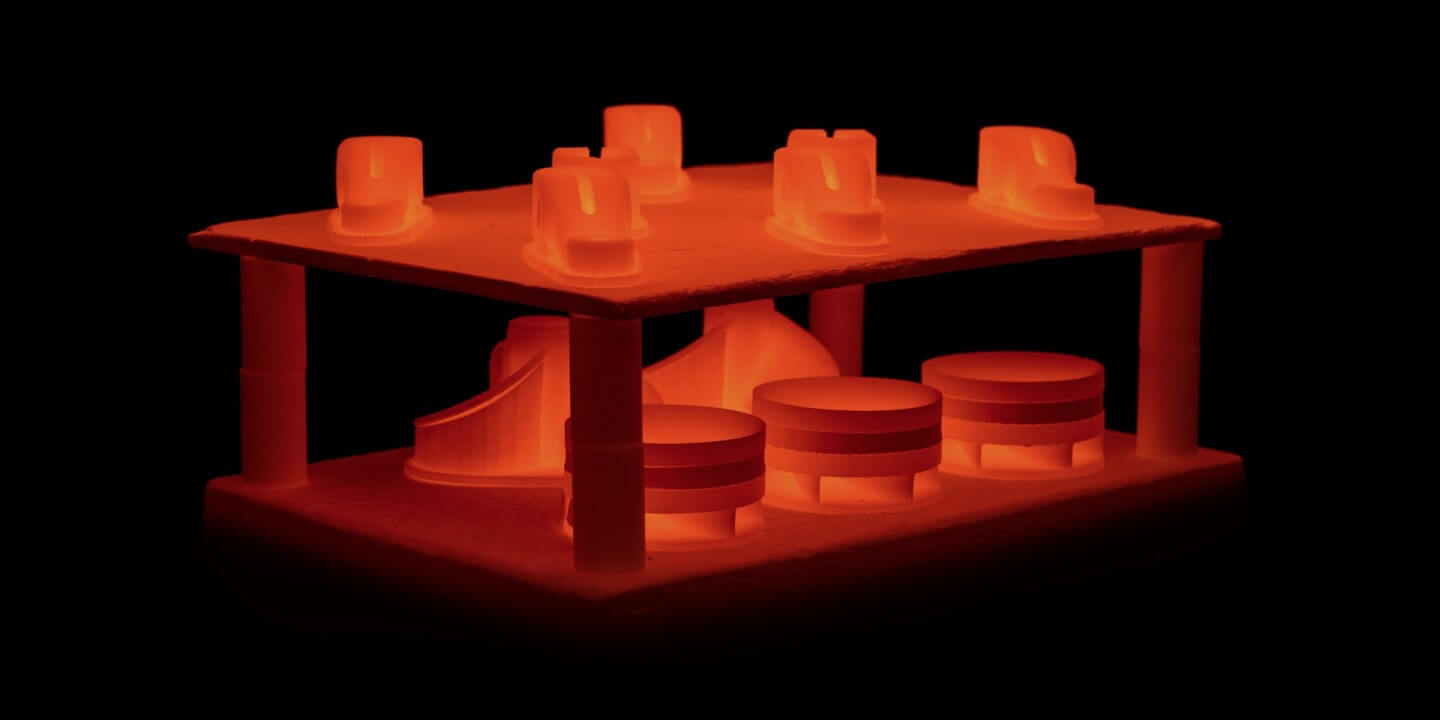
After your part has been printed and washed adequately, they can be placed in the sinter for their final step.
The Sintering is the process of fusing particles together into one solid mass by using a combination of pressure and heat, without melting the materials.
Only one material can be sintered at a time. This is to ensure parts aren't fused together.
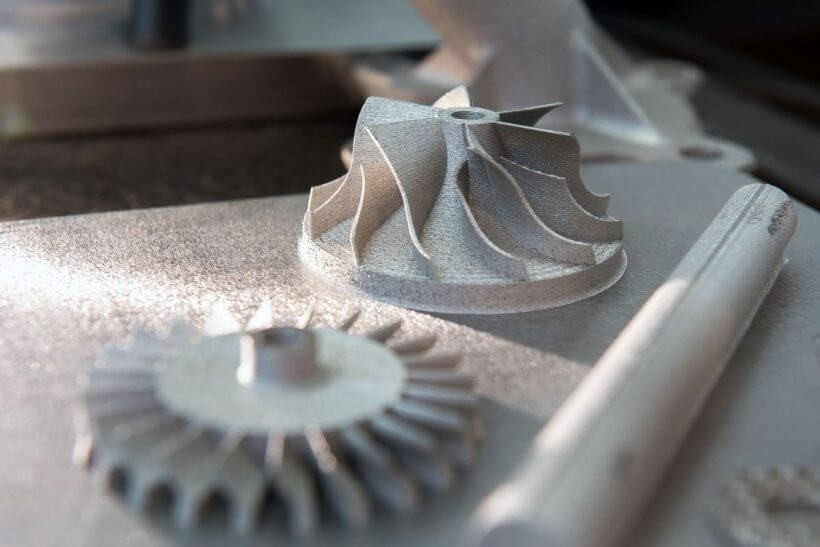
Once the sintering process is complete, the part is removed from the furnace, supports are removed and any post processing is done (drilling, tapping, machining etc.).
Your product is now ready to be used.
Find out how RetroCast 3D Printing can help you. Contact our team on 07
3348 5057 for
more information or Contact
Us